Showing posts with label restyle. Show all posts

10.05.2011

Halloween Wreath Tutorial

Here is what I started with:

plastic lids
+
zip ties

The zip ties I found at a Big Lots that was relocating--got them for half price which means the grand total for this project was a little over $1!!!  Oh yeah!


I cut the middle out of the plastic lids.


Start putting zip ties on the ring.  Pull them tight and slide them close together.
Cover the entire ring.
And, well, that's pretty much it.  Easy peasy.


This is my finished product...


I snagged a spider from the boys room and added a bit of orange berries left over from last year's wreath.
Boo-tiful, don't ya think? (ha. ha. ha.)


Parting Thoughts:

I had 200 ties to start with. 
It made 2 spiders (show you those tomorrow), covered the ring of 1 gallon ice cream container and about 3/4 of the smaller plastic ring.

My 3 year old was totally into putting the zip ties on.  I need to remember this for the dark days of winter.
one bag of zip ties = at least 30 minutes of preschooler entertainment


9.26.2011

Grand Opening of ByBeccaG.etsy.com!

I am so excited about this!

Today I am announcing...


G R A N D   O P E N I N G !

Please go over and take a look.  There are more fun designs and items to see--all made from recycled tees!

Enjoy a 15% discount when you use the code GRAND at checkout and feel free to pass it along to your friends!

Thanks for celebrating with me!


9.21.2011

Summer Art Project #1

This summer I had a little art class with my two older kids (they are 9 and 7), a few of their friends and whoever else happened to be around.
 

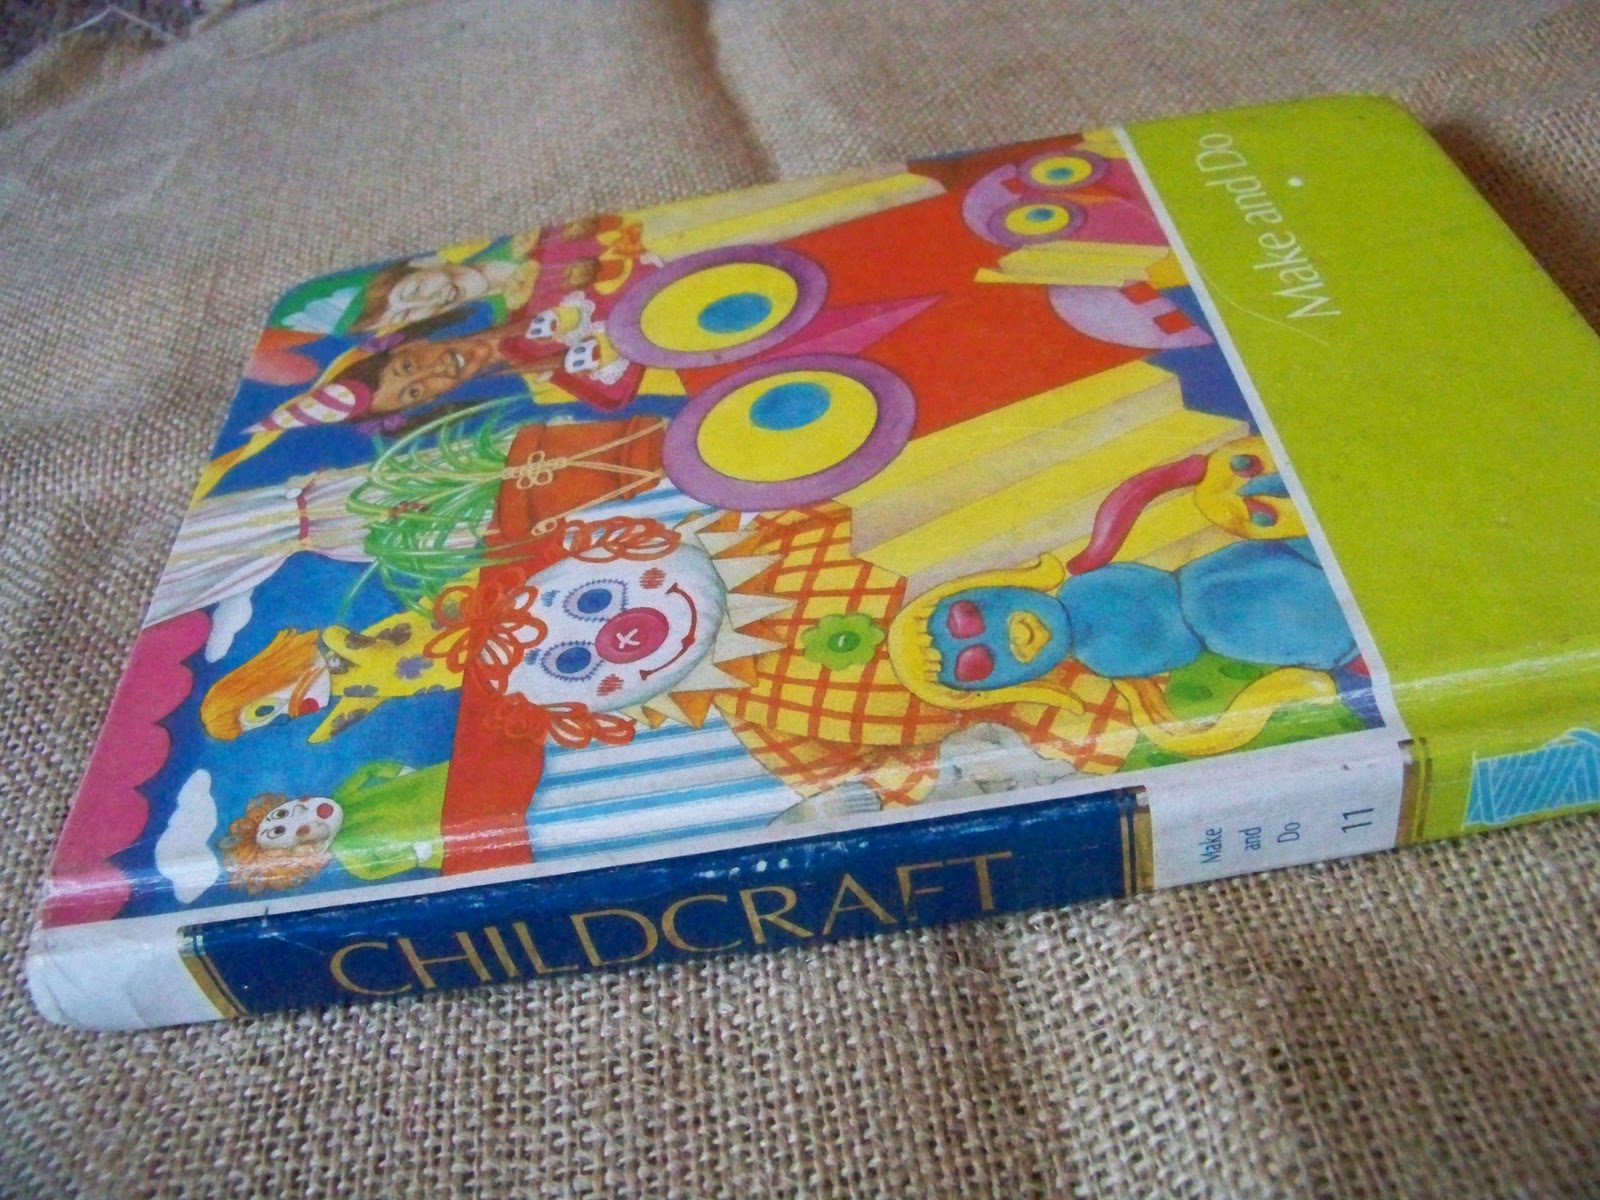
I picked up this Childcraft book at a thrift store months before summer and had decided right away that this paper-mache project would be one of our projects.


Is that clown not the cutest?!!

Step 1.  Find some empty bottles. 
The book says plastic, we used glass, they both work.
Put a little sand or gravel in the bottom to keep the bottle from tipping.
I actually forgot this part but it turned out fine because the glass bottle had enough weight on its own.

Step 2. 
Crush a piece of paper into a ball about the size of the head you want. 
Place the ball in the center of another piece of paper. 
Pick up the four corners and tightly twist them together.

Step 3.
Put the twisted end into the opening of the bottle.
Paste four layers of paper-mache over the ball and top part of the bottle.
You can also use a little tape to start with and then paper-mache over it.


Step 4.  Cover everything with about 4 layers of paper-mache.
(This is super fun!)
This is when you take strips of newspaper or magazine pages (non-glossy works better),
dip them into the paste and
smudge them onto the bottle.


Paper-mache paste can be made different ways:
--3 parts water to 1 part flour
--1 part wallpaper paste to 3 parts water
--2 parts glue to 1 part water
(we used the glue method)

Step 5.  Let it dry.


I kind of liked them at this stage. 
I can see trying this again with some different shapes and just leaving them in the unpainted stage.
But a some of the kids came up with really cute painted people.
And that brings us to..
Step 6.  Paint your bottle figure.
Use acrylic paint.  Add hair or other accessories if you want.
A couple kids added paper hats. (no pics of the hats, sorry)
Here are a couple of our finished products.
Blue-haired Fairy and Raiders Guy!


Ador.

Tomorrow, I'm going to tell you about the project I was doing while they were busy with Bottle Figures!

9.17.2011

In Progress

This is where I am...


+


=

lots of new fun items for my etsy shop!

A few items were posted this week and lots more to come! 

You can see a sneak peek of the "Littlest Birds" headband in different stages of completion.  We took some photos last night of the finished products and hope to have them in the shop this coming week.  Abs was one of the models and she was rockin' it!  I'm most excited about a eucalyptus design I have been working on that I will share with y'all soon.

You can see my shop at
or click on the etsy button at the right.

Happy Weekend!

9.14.2011

DIY Birthday Tee

Here are my
two favorite two-year-olds
and the t-shirts I made for their birthdays...


I was inspired by these shirts I saw over on Dana's blog, MADE.  She used the first letter of the child's name and added some super cute embroidery.  You can find her tutorial here.


I'm not much of a hand sewer but I liked the color that the embroidery added.  So, instead,
I layered different colors of t-shirts. 
I used old shirts that I had on hand
(don't we all have some old or unloved t-shirts hanging around that could be put to better use?),
cut out the shapes,
and sewed it all together

A few tiny tips:
-sew around the numbers before sewing the shape onto the shirt
-it is easier to sew on multiple layers of t-shirt material
-use a smaller stitch

Also...
the sprinkle shirt tutorial was part of a series of crafts and projects all for BOYS!
Check out the rest of the projects under the heading Celebrate the Boy on Dana's blog.


2.07.2011

A New Wreath


This was my restyle project for the week.  I scored some garland on clearance from Michael's.  Add in one old frame, cast off jeans, a button and you've got a new wreath!


I had originally planned on using more than one flower so we made a headband with the extra flower  and Trek was so gracious to model it for me.

1.29.2011

Monster Hat Restyle


This week we did a restyle for joe friday.  The inspiration came first from this awesome hat that Abs got for Christmas and then Joe saw a project in this month's Family Fun magazine. 
We started with an old and ratty but much loved sweatshirt, some t-shirt scraps, and Joe's drawing of the face he wanted. 


 Originally he had the eyes in a diamond shape but they were getting lost over the top on his head so we adjusted them to go straight across.  He enjoys running around with it pulled all the way over his face to scare his brothers.  This lasts as long as it takes for him to crash into something since I failed to put eye holes in the top of the hat.  Maybe next time.

PS.  getting him to pose for these pictures was quite a challenge.  below are a couple other great shots i could have used.


love that kid.

1.15.2011

Hoodie Restyle


I love the person my daughter is becoming.  She's spunky and punky, smart and fun-loving.  Her style though has changed drastically in the last couple years.  She went from wearing dresses everyday to never ever mom you can't make me.  She has totally phased out pink and purple in exchange for black and silver.  I love that she is expressing her personality through her fashion choices. 
So when I saw this precious DIY hoodie makeover at Under the Sycamore, I thought 'how cute!' followed by 'Abby would never wear that' and 'don't think i can get the boys to wear it either'.  Boo.  We still had a perfectly good plain hoodie sitting in Ab's closet that needed some spunk. 


Added one medusa head and several strands of snake hair and I had one happy customer.

Project Restyle details can be found here.

1.10.2011

Book Cover ReStyle

 Don't you love this book?  A friend gave it to us when we were expecting #1.  It has been much loved and the book jacket was just about loved to pieces.  I hated to toss it when the colors and the artwork are some of my faves so...I repurposed it!

I finished tearing it up into several pieces and glued them onto a square canvas that was just waiting to be given new life.  Now it is hanging in our "little house".


This was my first contribution to Project ReStyle.  Project ReStyle is a sort of challenge to take something that is unwanted, unused, or about to be thrown away and restyle it.  Anyone can participate! Check out the details here.