Showing posts with label craft. Show all posts

3.24.2012

Human Spirograph

I loved to play with this as a kid.
It has circles.  It has symmetry.
Just lovely.
So when I saw this video of Tony Orrico, I knew we would be trying it!
We had to tape a few pieces of paper together to create a large enough canvas.  Then everybody got a turn. 
 Literally.
The trick is to stay centered and have your arms make the same motion the whole time you are rotating.

 Jono can't stand to be dizzy.  He only made it around once.
Dilly was our freestylin' spirographer.
And here is the finished product...

2.16.2012

Preschool Art {the original}

What with looking at other moms' blogs and Pinterest, I can get a little overwhelmed with all the cute educational things I'm not doing with my kids.  This day was about forgetting all that and getting back to basics.  What kid doesn't like finger paint?!
It is so fun to watch them go from

tentative-----to----->all in!


I'm sure you can do a Pinterest search and find a recipe to make your own finger paint but don't do that to yourself.  The kid is not going to know the difference and you just saved another hour of your day.

Keep it simple.
Simple is fun!

1.31.2012

Abby Gets Crafty {felt flowers}

Abs came with me to a friend's baby shower recently.  All the guests made felt flowers for the soon-to-be-here baby girl.  Felt flowers are great for hair clips, headbands, adding to a onesie or little sweater, adorning a frame or fancy-ing up a pillow.  Just lots of fun stuff!  So, we made a whole bunch at the shower and Abby jumped right in there with the rest of us.

There are four different felt flower tutorials HERE.


A day or so later, she whipped out the glue gun and made herself one!
It just makes my heart proud to see my girl with a glue gun in her hand!
I love how she took these two basic flowers
 and totally created her own one-of-a-kind flower.


Didn't she do an amazing job?!!
And she is also rocking the sock bun that she saw on pinterest!

Have you noticed how Abs has entered a new fashion phase?
Remember the last one?

1.23.2012

Sculpture with Trek

These are some sculptures that Trek did at school with some kind of crazy foam-like play dough.


My absolute favorite thing about these creations are the descriptions!  The mind of a four-year-old is an amazing thing.  I am so thankful that his teachers write this stuff down for me to enjoy!  I mean, an eagle snowman on an airplane.  That's awesome!

Trek also would like for me to share with you this gun that he built out of his Trio blocks.
"it has two shooters"


Guns are not really on my awesome list but that face sure is!!!

Don't forget...
if you are doing any sort of art with your child,
ask them about it!
Find out why they made it this way or that, used this color or not.
The responses are fascinating.

1.09.2012

Suped Up Paper Airplanes

Today, the kiddos go back to school. 
After a three week break.
Hello! 
Sometimes I think I might want to homeschool because there is so much flexibility, and there are so many cool projects we could do, etc, etc.  Then I have them all in the house for a few days and I remember why that's not such a good idea (for us).

But the break was fun.  We did accomplish a few projects.
I love it when the kids are excited about making stuff with me.
Joe is all about some paper airplanes.  He makes them all the time.  I find them everywhere!
This time we tried a suped up version.

Using thin cardboard (like an empty cereal box) we folded a paper airplane.
There are so many different ways to fold it.  A quick google will get you at least 20 different easy ways.  We have a book called Paper Planes by Phil Joho that has been lots of fun.
If you are having trouble folding the cardboard, take an exacto knife and score the fold.


Then LAUNCH IT!
Since it is heavier and bigger than your average paper plane, it will really sail!
(Since it's heavier and bigger than your average paper plane, I would recommend flying it outside.)


Great craft project for the boys!
And easy, too!

12.01.2011

Pinterest Complete {curly twirly t-shirt scarf}

I'm always on the lookout for how to refashion t-shirts.  I spotted this curly twirly scarf on Pinterest.  It is a quick and easy project that would make a cute gift for the holiday.

I shared this tutorial at a ladies-crafting-get-together thing at our church.  Everybody's turned out great and I loved the variations that popped up--mixing colors, using prints, using dyed t-shirts. 

Take a look!


It was fun sharing the afternoon, ladies!

11.23.2011

Pinterest Complete {slotted building discs)

You know how you can get so wrapped up in pinning things on Pinterest that you never get around to actually doing anything?  Well, periodically I am going to share something that I saw on Pinterest and saw it through to completion. 

Take these building discs.

diy building discs toy

The pin came from a blog called Handmade Charlotte but the project originated at Made by Joel.  I was excited to find out that Made by Joel has bunches of fun kid projects and cool printable coloring pages.  I can't wait to play some more!

So, Joel's discs are bright and colorful.  I had visions of using pretty scrapbooking paper to make some of our own but I wanted these to take on the plane--a fun, quiet, easily portable game for the littles--and my time kind of ran out.

I started with cardboard coasters that we got from Sierra Nevada.


No time to cut out cute paper and glue on both sides.
So, I just cut the four slits in all the coasters and stuck them in a bag.
I did throw in some popsicle sticks.  They fit in the slits so it adds abother dimension.


Follow Me on Pinterest

10.26.2011

DIY Nature Finds to ???

Today I have a tutorial for you.
But it isn't here.

It's about taking the treasures you have found outside and turning it into
a special souvenir or great holiday gift.

I used these treasures...

Go on over there to see what I made!
Except if you are expecting a Christmas present from me maybe don't go look.
You may or may not be getting one from me come December. ;)

10.14.2011

Harry Potter Wands

Remember the thrill of July?
The warmth of the summer sun.
The giant splash as you race into the water.
AND
The great, last battle against Volde--
I mean, He Who Must Not Be Named.

Ask the Big-uns what was their favorite part of summer and, without hesitation, they will tell you
The Deathly Hallows Part 2!!!


The excitement has not waned.  We have had multiple conversations about which parts were changed and what was left out or added to the movie.  Repeated favorite lines...
("that went well" and "i've always wanted to use that spell")
Re-enacted whole scenes. 
I can't tell you how many sticks have been gathered to use for wands and how many times I've heard "expeliarmus".   Even the toddler is saying it (actually he says it more like his father--"smellyourarmpits")

And, of course, we will be dressing up as characters from Harry Potter for Halloween. 
Not surprising, I know.
So, in preparing for this fantastic event, we needed certain wands.
You know that the wand chooses the wizard and each wizard has a specific wand.


Can you believe these wands were made with paper and a glue gun?!!  I got major mom points for coming across this tutorial on Pinterest.
Much safer than a second grader trying to whittle them with his dollar store pocket knife.

It's really fairly simple:
Roll the paper.
Glue it together and let dry.
Add details with the glue gun.
Paint.
Definitely check out the complete tutorial here.

We still have to make a mad eye for Professor Moody but at least the wands are ready!

By the way, anyone know who it was that said the quotes from above or just knew from looking which wizards' wands we made???  Just wondering how many other Harry Potter nerds are out there!


10.06.2011

Zip Tie Spiders for the Kiddos

Here are the materials I started with..

old rusty bolt (don't worry my kids are up to date on their tetanus shots)
+
zip ties
+
googley eyes

You could use any small ring.  We were just using what we found around.


Put 8 zip ties onto the ring/bolt.


 It should look like this...


Scooch 4 over to one side and 4 on the other.
Bend in a couple places for legs and feet.


Add googley eyes and there you go--
spiders!


Who knew spiders loved to slide?
They do.
They really do.


I'm not sure at what age you grow out of zip tie spiders, but my 7 year old was not the least bit interested.
Instead, he made a "war tool".
Rusty metal and zip ties.
Yep--the enemy better watch out!

10.05.2011

Halloween Wreath Tutorial

Here is what I started with:

plastic lids
+
zip ties

The zip ties I found at a Big Lots that was relocating--got them for half price which means the grand total for this project was a little over $1!!!  Oh yeah!


I cut the middle out of the plastic lids.


Start putting zip ties on the ring.  Pull them tight and slide them close together.
Cover the entire ring.
And, well, that's pretty much it.  Easy peasy.


This is my finished product...


I snagged a spider from the boys room and added a bit of orange berries left over from last year's wreath.
Boo-tiful, don't ya think? (ha. ha. ha.)


Parting Thoughts:

I had 200 ties to start with. 
It made 2 spiders (show you those tomorrow), covered the ring of 1 gallon ice cream container and about 3/4 of the smaller plastic ring.

My 3 year old was totally into putting the zip ties on.  I need to remember this for the dark days of winter.
one bag of zip ties = at least 30 minutes of preschooler entertainment


9.23.2011

Paper Mache Project for Me

So, while the kids were working on their paper mache project,
I started my own little thing...
paper mache beads!

The night before I had grabbed the bag of shredded paper from my husbands office and
let it soak in water until the morning.
Squeeze out the water and add paper mache paste
until you get a sticky dough consistency


Next, I took handfuls and squished it into balls.
I had trouble poking a hole through it after forming the ball so I formed the ball
around a toothpick and then removed the toothpick when I had the desired shape.
Let it completely dry.
You will have a very, light, hard, paper mache bead.
Now, you get to paint them!
I should have made more because I had a hard time deciding what colors to do.
I used water colors because I wanted the texture of the paper to really show.
Acryllic paints would give a more opaque covering.
Then give it a coat of clear acryllic spray for a bit of shine.

Here are some of the necklaces I made out of my beads.


I made one bracelet out of some beads I left white... 


Now the question is--
is this cute or
does it look like I have a string of spitwads on my arm?!
Tell me the truth, people.  My reputation as a fashionista is at stake.
(if you know me, you should be laughing at the thought of me as a fashionista.  but still, i need to know.)

9.21.2011

Summer Art Project #1

This summer I had a little art class with my two older kids (they are 9 and 7), a few of their friends and whoever else happened to be around.
 

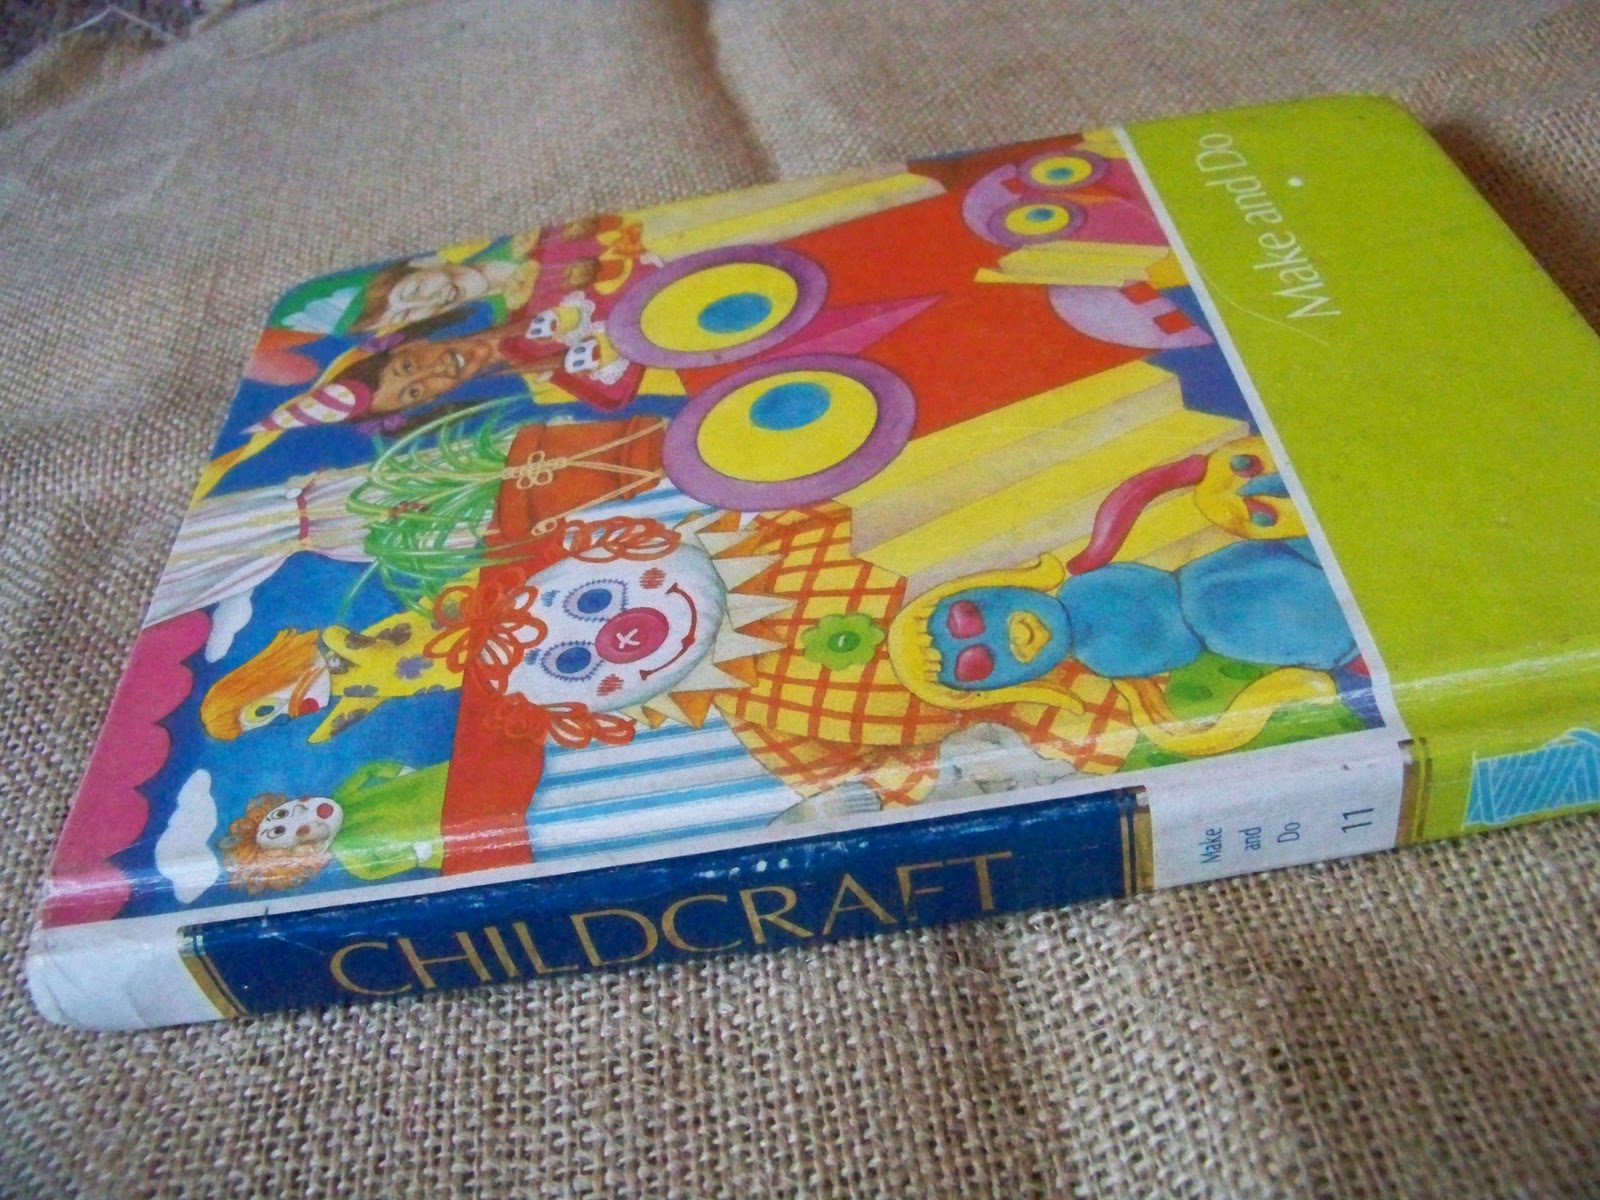
I picked up this Childcraft book at a thrift store months before summer and had decided right away that this paper-mache project would be one of our projects.


Is that clown not the cutest?!!

Step 1.  Find some empty bottles. 
The book says plastic, we used glass, they both work.
Put a little sand or gravel in the bottom to keep the bottle from tipping.
I actually forgot this part but it turned out fine because the glass bottle had enough weight on its own.

Step 2. 
Crush a piece of paper into a ball about the size of the head you want. 
Place the ball in the center of another piece of paper. 
Pick up the four corners and tightly twist them together.

Step 3.
Put the twisted end into the opening of the bottle.
Paste four layers of paper-mache over the ball and top part of the bottle.
You can also use a little tape to start with and then paper-mache over it.


Step 4.  Cover everything with about 4 layers of paper-mache.
(This is super fun!)
This is when you take strips of newspaper or magazine pages (non-glossy works better),
dip them into the paste and
smudge them onto the bottle.


Paper-mache paste can be made different ways:
--3 parts water to 1 part flour
--1 part wallpaper paste to 3 parts water
--2 parts glue to 1 part water
(we used the glue method)

Step 5.  Let it dry.


I kind of liked them at this stage. 
I can see trying this again with some different shapes and just leaving them in the unpainted stage.
But a some of the kids came up with really cute painted people.
And that brings us to..
Step 6.  Paint your bottle figure.
Use acrylic paint.  Add hair or other accessories if you want.
A couple kids added paper hats. (no pics of the hats, sorry)
Here are a couple of our finished products.
Blue-haired Fairy and Raiders Guy!


Ador.

Tomorrow, I'm going to tell you about the project I was doing while they were busy with Bottle Figures!

9.17.2011

In Progress

This is where I am...


+


=

lots of new fun items for my etsy shop!

A few items were posted this week and lots more to come! 

You can see a sneak peek of the "Littlest Birds" headband in different stages of completion.  We took some photos last night of the finished products and hope to have them in the shop this coming week.  Abs was one of the models and she was rockin' it!  I'm most excited about a eucalyptus design I have been working on that I will share with y'all soon.

You can see my shop at
or click on the etsy button at the right.

Happy Weekend!